Installing and Configuring Bacula on OBS
V1.0 – April 2023
| Version | Author | Description |
|---|---|---|
| V1.0 – 2023-04-29 | Wisley Paulo w0083850 | Initial Release |
Introduction
This document presents the procedures for installing a Bacula server using an ECS instance on Huawei Cloud and configuring the server to store backups in a bucket on the Huawei Cloud OBS service.
For this scenario, Bacula will be configured using the Community version.
Provisioning an instance for the Bacula server
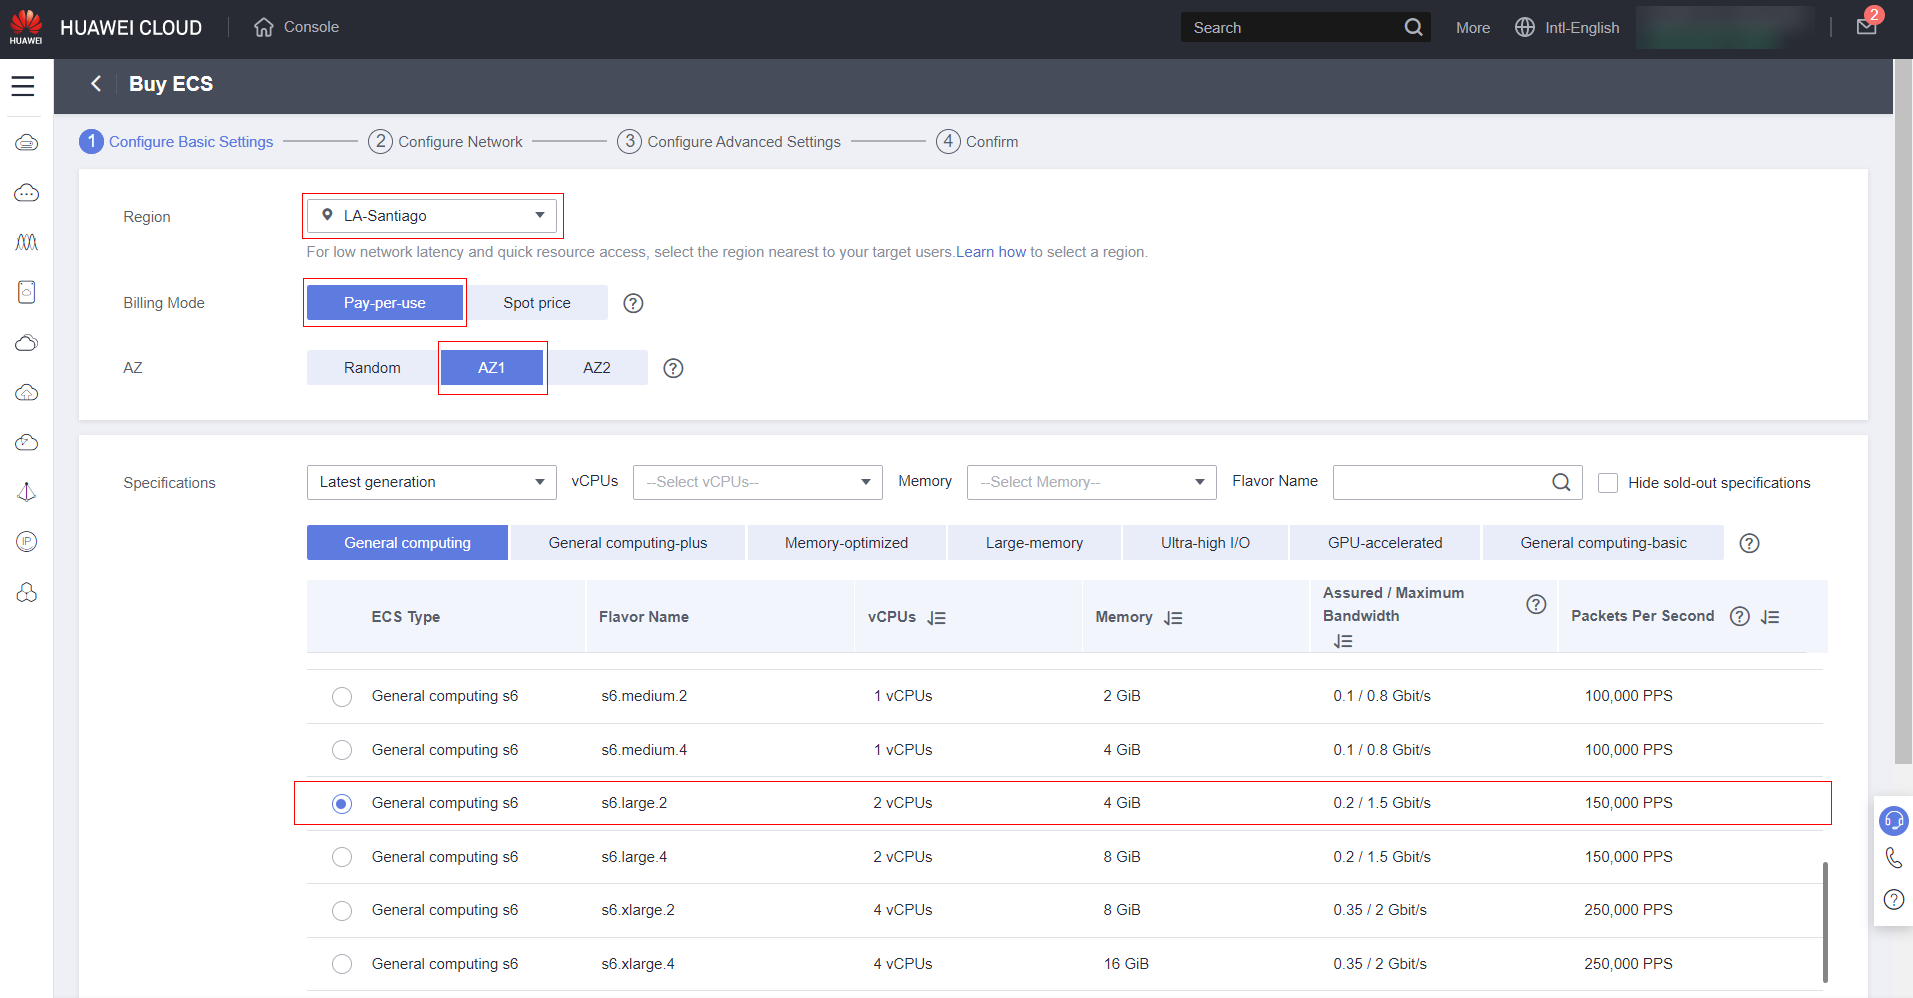
Access the ECS compute service and click “Buy ECS.”

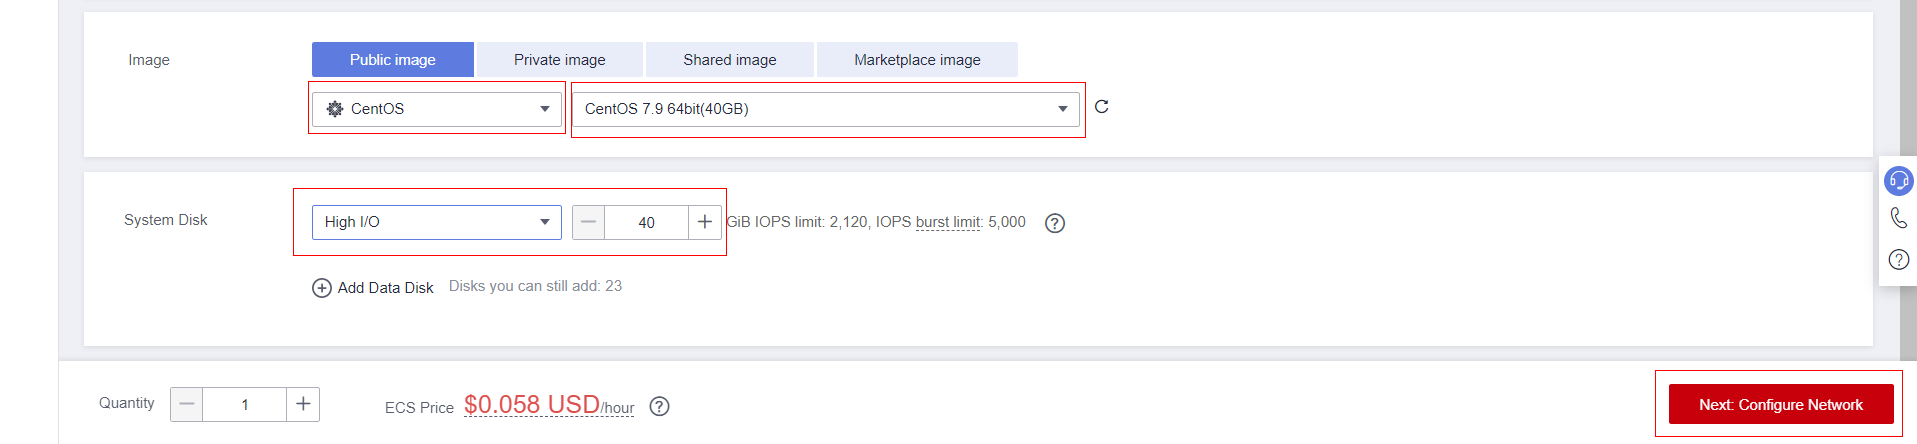
Select the following items: Region, Availability Zone, instance size, image (We used CentOS 7.9 in this tutorial), select the disk size, and click “Next: Configure Network.”
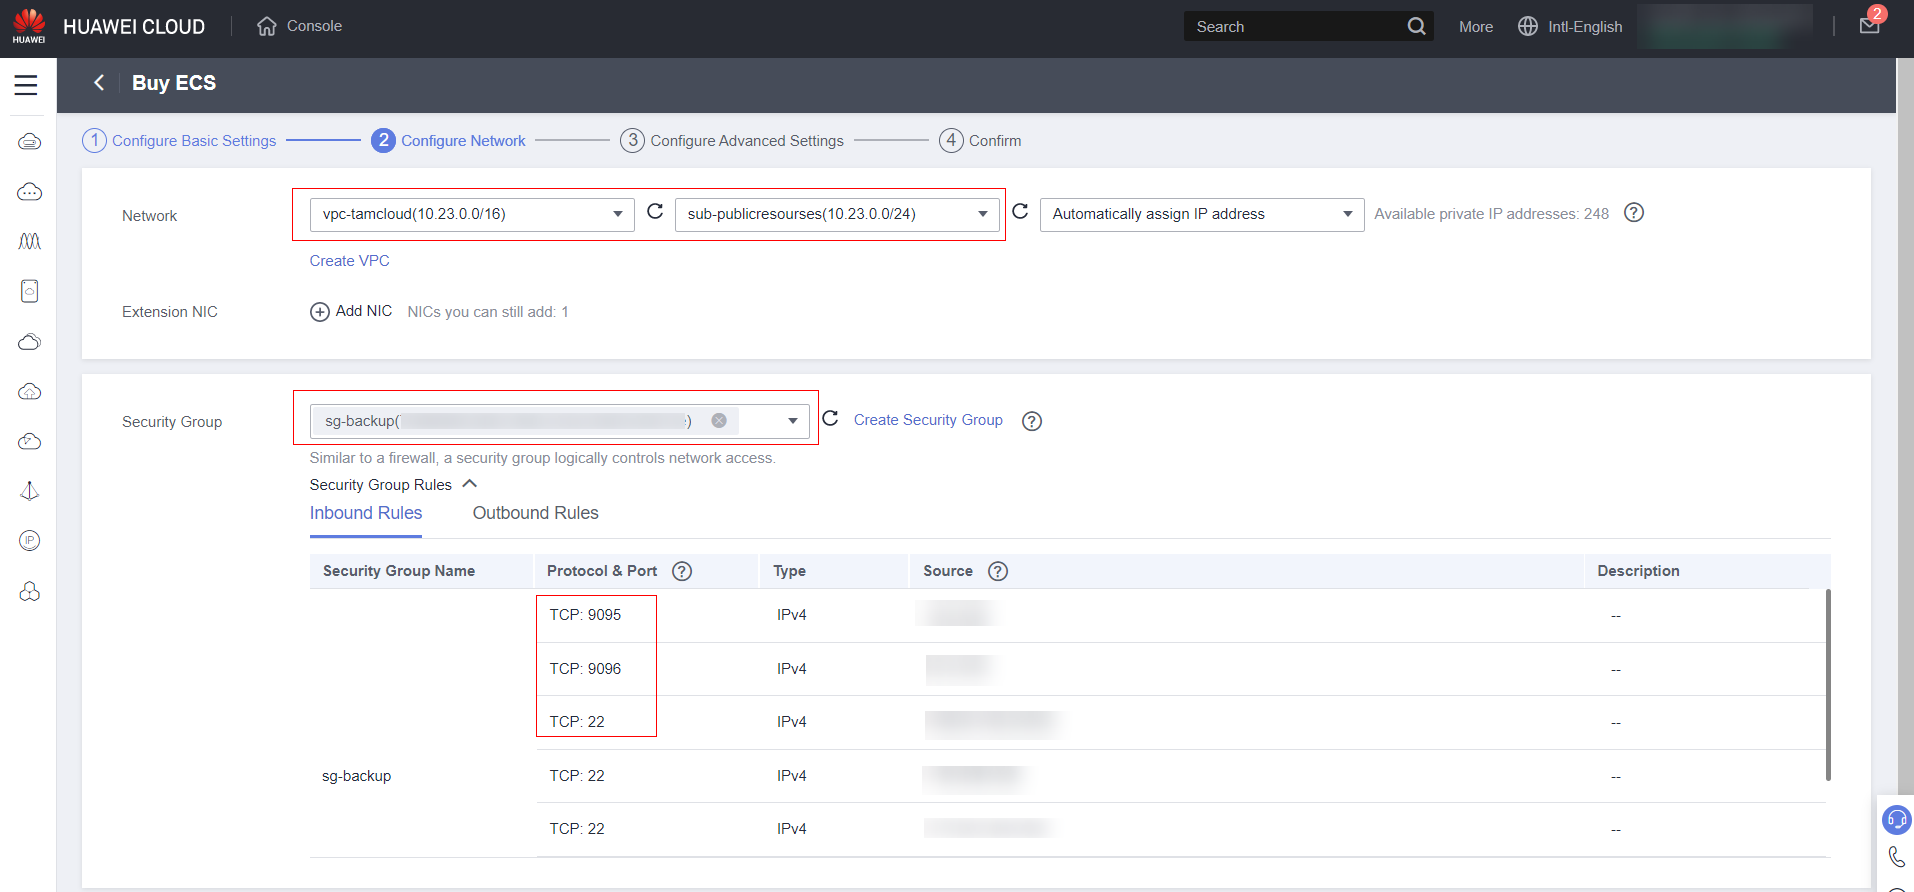
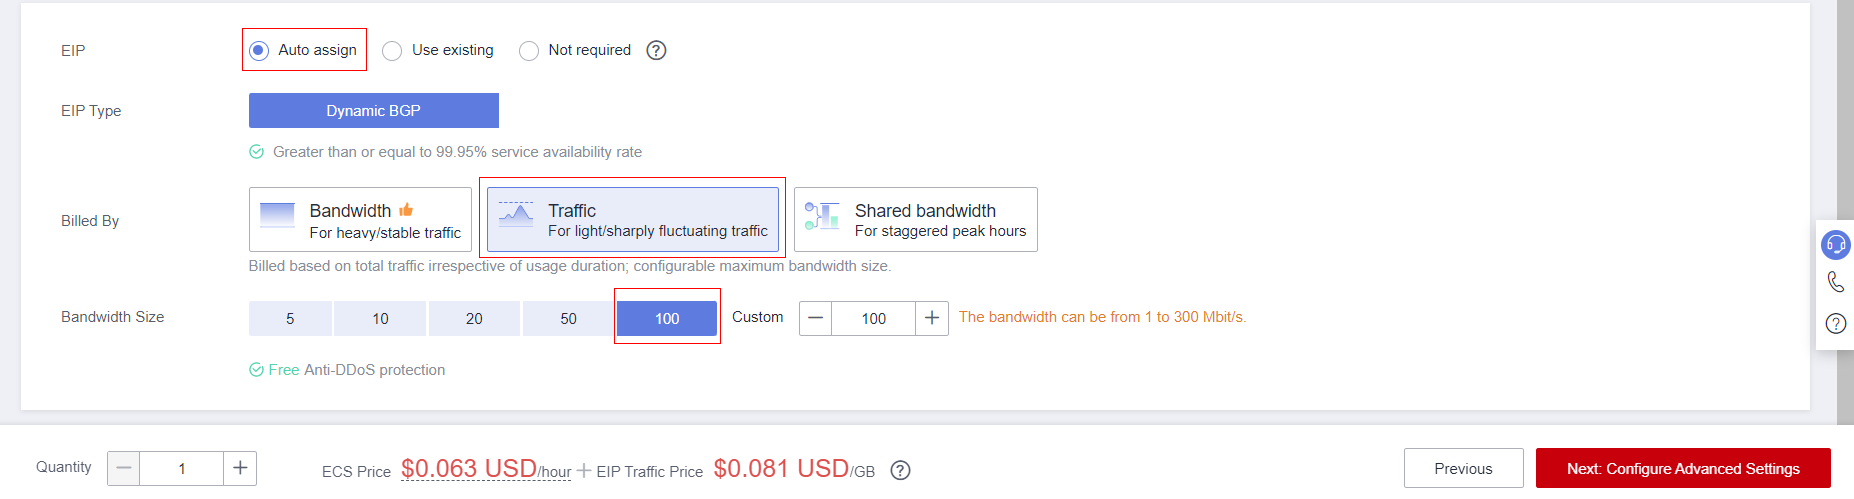
Select the instance’s network items: VPC, Subnet, Security Group, and EIP (public IP).
In the security group, it’s important to have port 22 enabled for instance access and configuration, and ports 9095 and 9096 if you want to use the Baculum graphical interface plugin.
The server doesn’t need to have a public IP (but in this tutorial, it was enabled to facilitate server access for configuration).
Finally, click the “Next: Configure Advanced Settings” button.
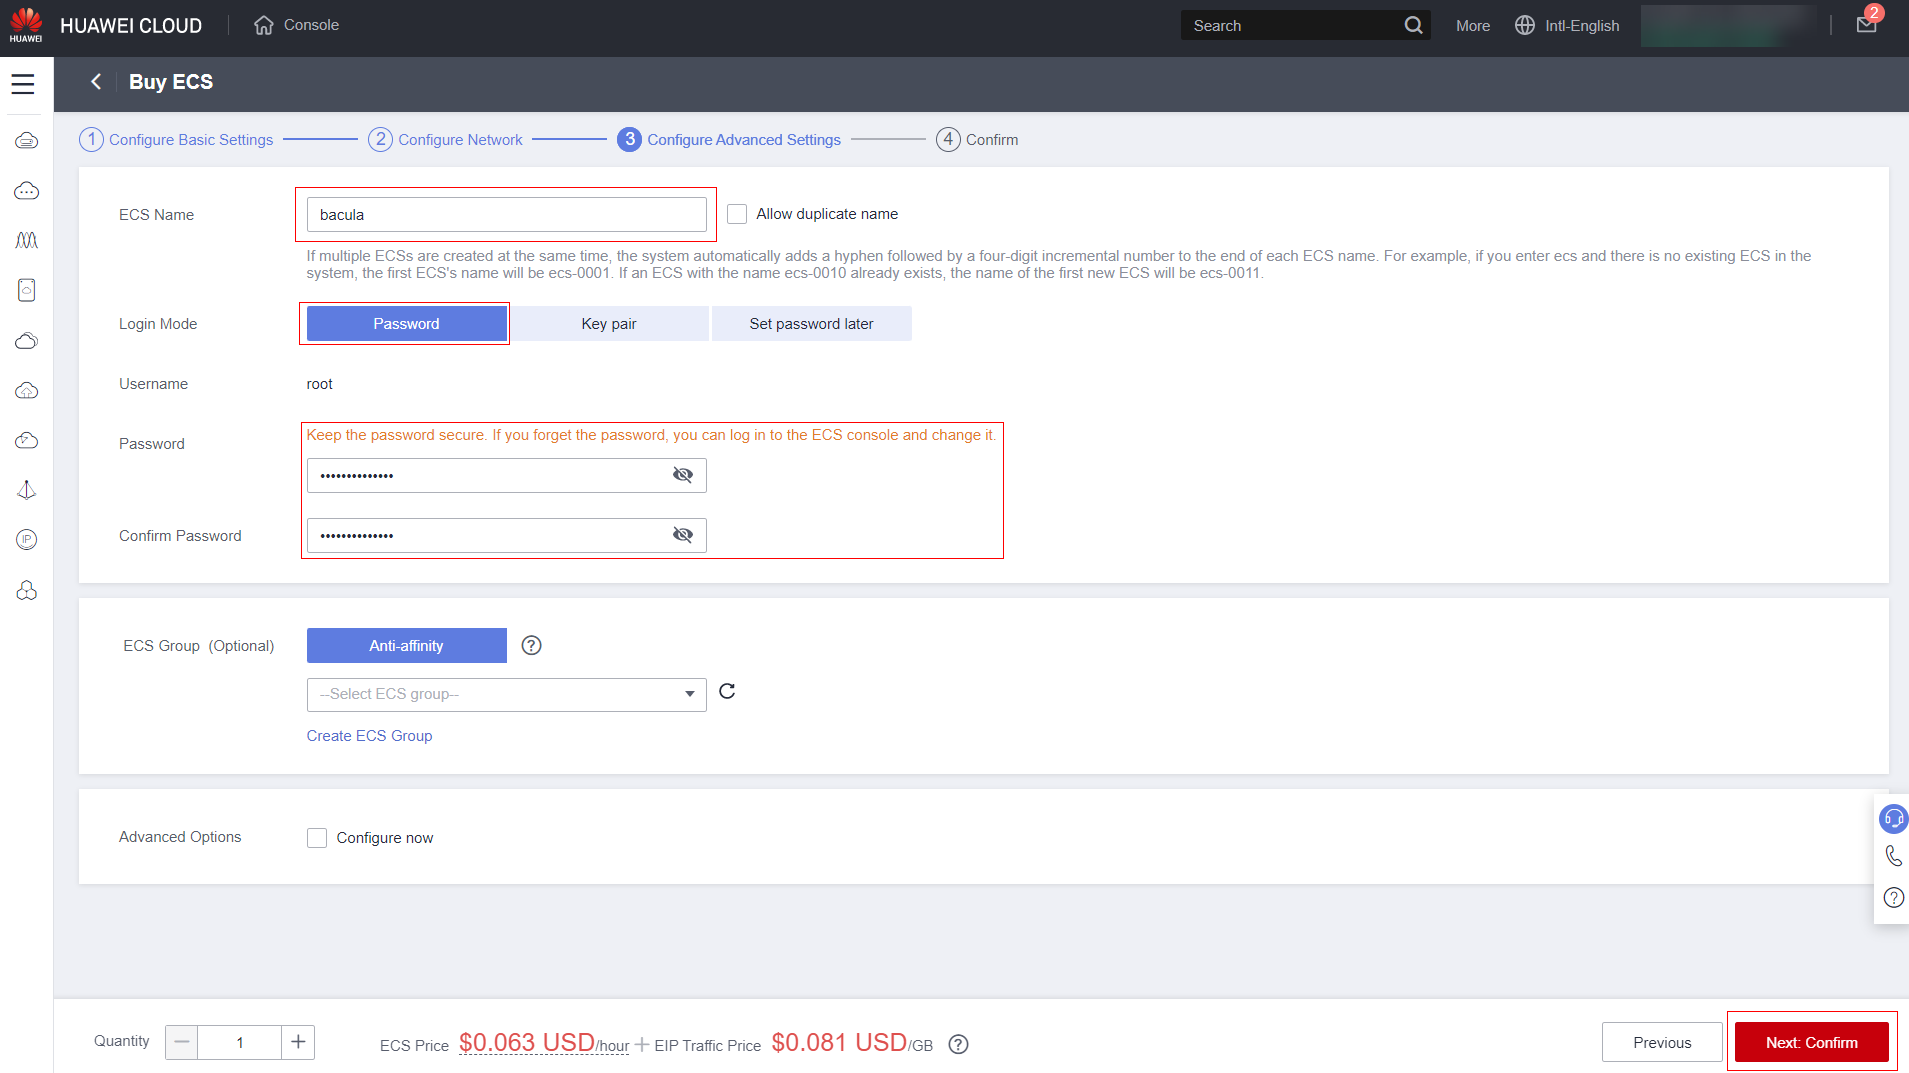
Set a name for the instance, whether you want to use a password or key pair, and click “Next: Confirm.”
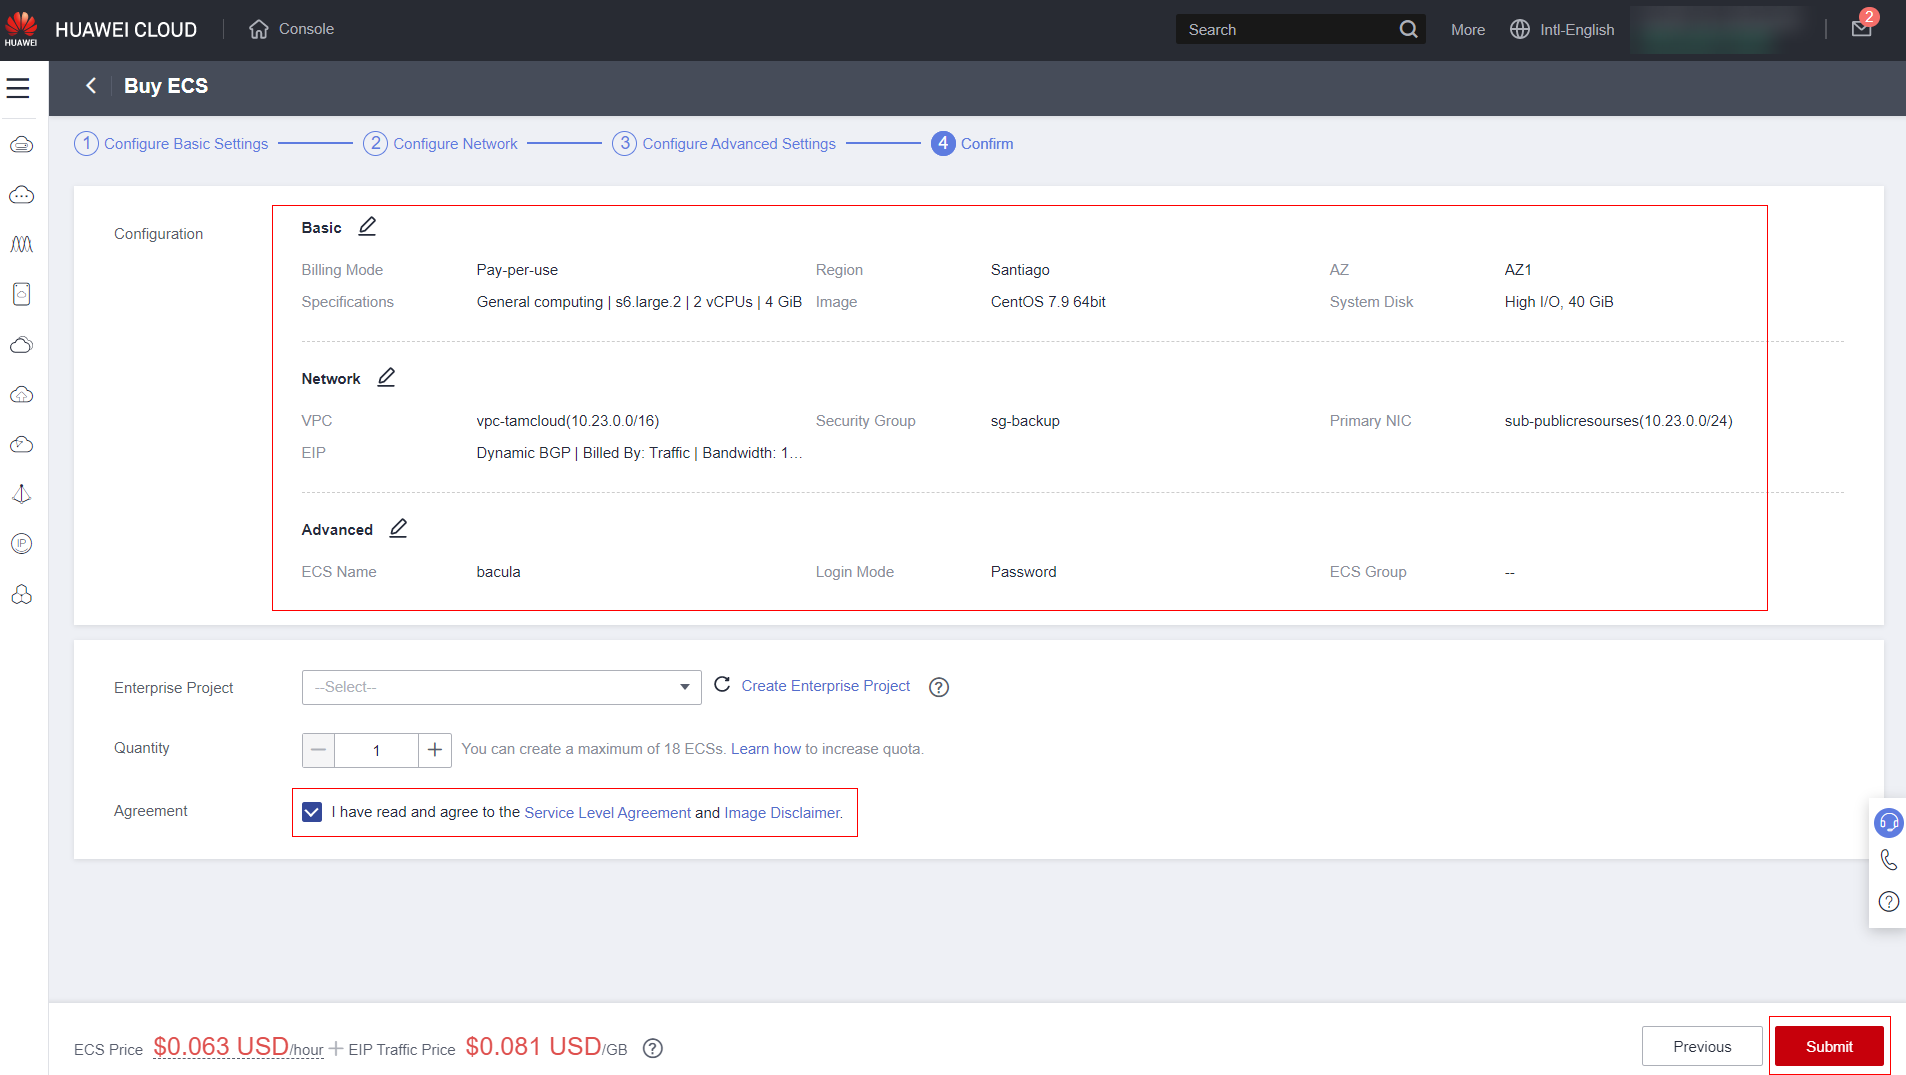
Confirm that all the data is correct and submit the instance creation by clicking the “Submit” button.
Use the terminal tool of your choice and remotely access the instance.
Installing Bacula
Download and import the GCP key to use signed packages from the Bacula Community
cd /tmp
wget https://www.bacula.org/downloads/Bacula-4096-Distribution-Verification-key.asc
rpm --import Bacula-4096-Distribution-Verification-key.asc
rm Bacula-4096-Distribution-Verification-key.asc
Configure the Bacula repository
Create the file /etc/yum.repos.d/Bacula.repo and insert the lines below:
[Bacula-Community]
name=CentOS - Bacula - Community
baseurl=http://www.bacula.org/packages/@access-key@/rpms/@bacula-version@/el7/x86_64/
enabled=1
protected=0
gpgcheck=1
gpgkey=http://www.bacula.org/downloads/Bacula-4096-Distribution-Verification-key.asc
Install the requirements packages for Bacula:
yum update
yum install postgresql-server -y
postgresql-setup initdb
systemctl enable postgresql.service
Install bacula packages:
yum install bacula-postgresql -y
Bacula Database Configuration:
systemctl start postgresql.service

su- postgres
/opt/bacula/scripts/create_postgresql_database
/opt/bacula/scripts/make_postgresql_tables
/opt/bacula/scripts/grant_postgresql_privileges
exit

systemctl start bacula-fd.service
systemctl start bacula-sd.service
systemctl start bacula-dir.service
gpasswd -a bacula tape
Installation of the deduplication plugin with ZFS system:
yum install bacula-aligned -y
Testing the functioning of the Bacula server:
/opt/bacula/bin/bacula-dir running as user bacula
/opt/bacula/bin/bacula-sd running as user bacula
/opt/bacula/bin/bacula-fd running as user root
sudo -u bacula /opt/bacula/bin/bconsole
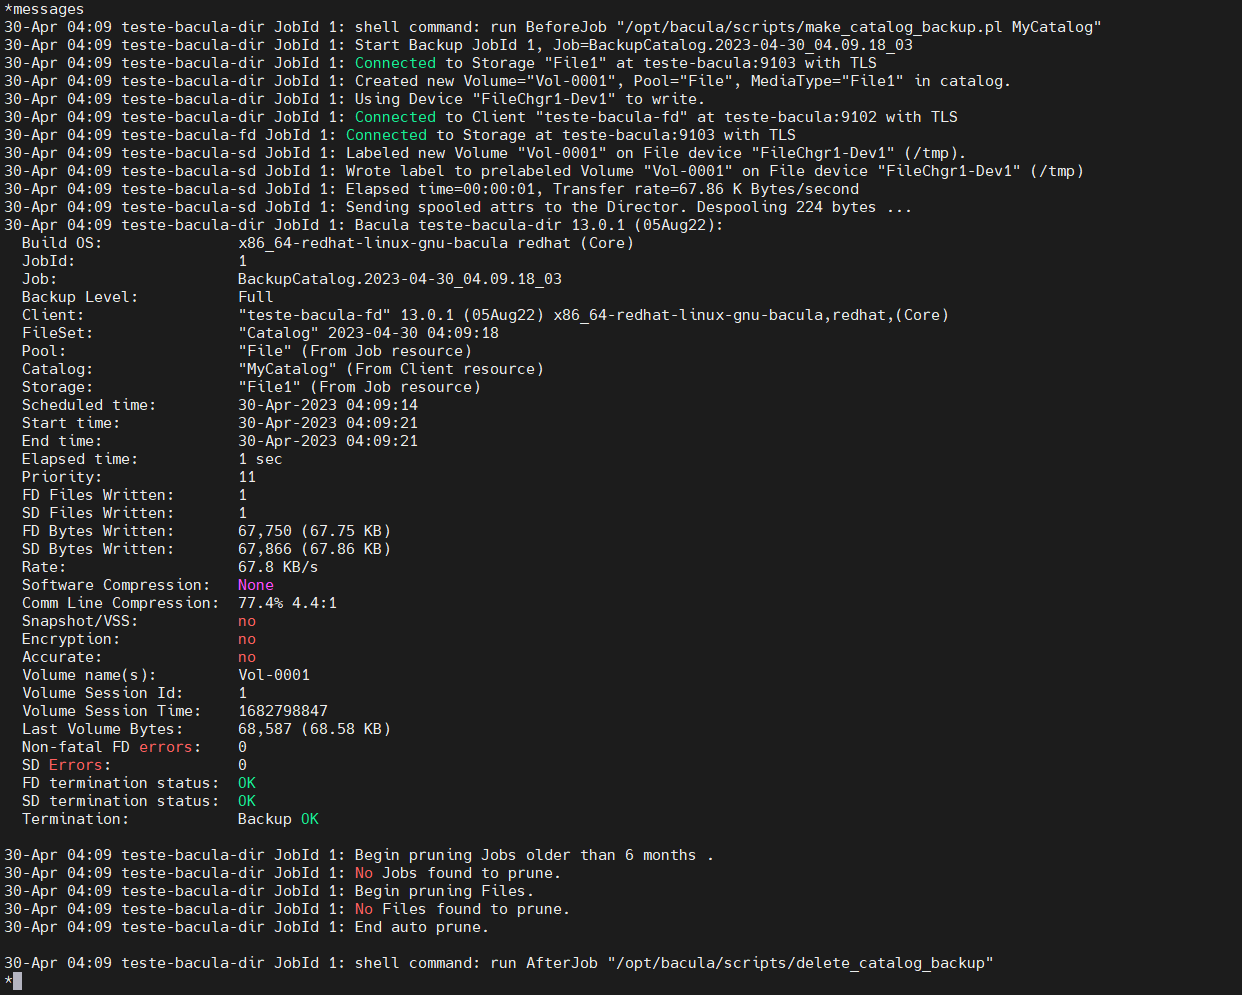
run job=BackupCatalog
messages
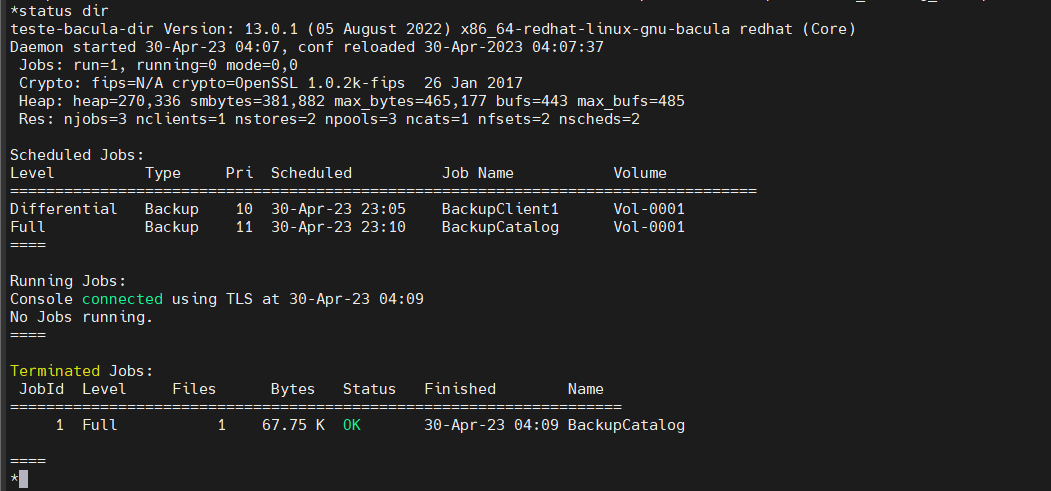
status dir
exit
OBS backup storage configuration
Installing the cloud storage plugin
yum install bacula-cloud-storage -y
Creating the bucket that will receive data from the Bacula server:
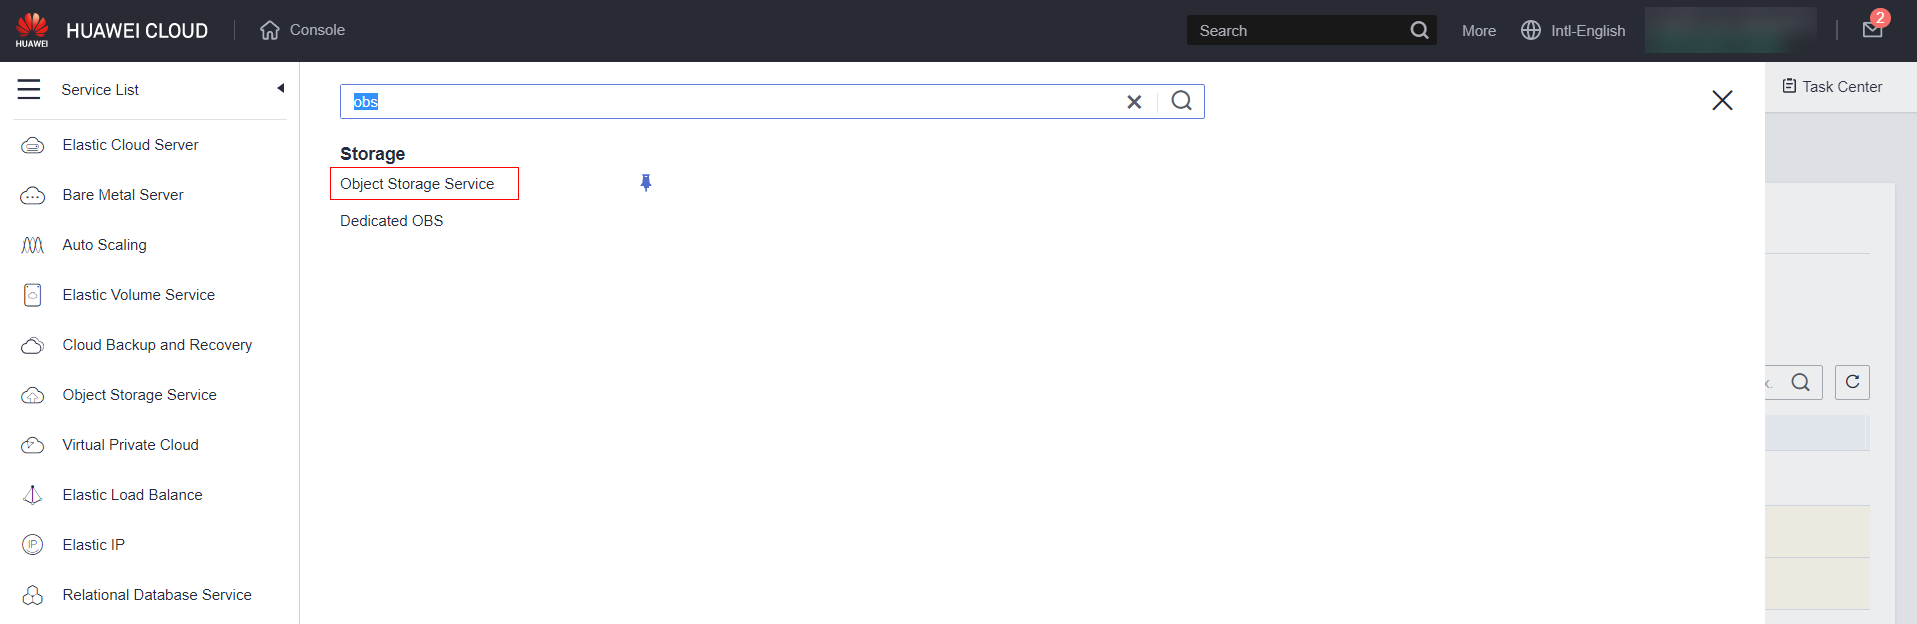
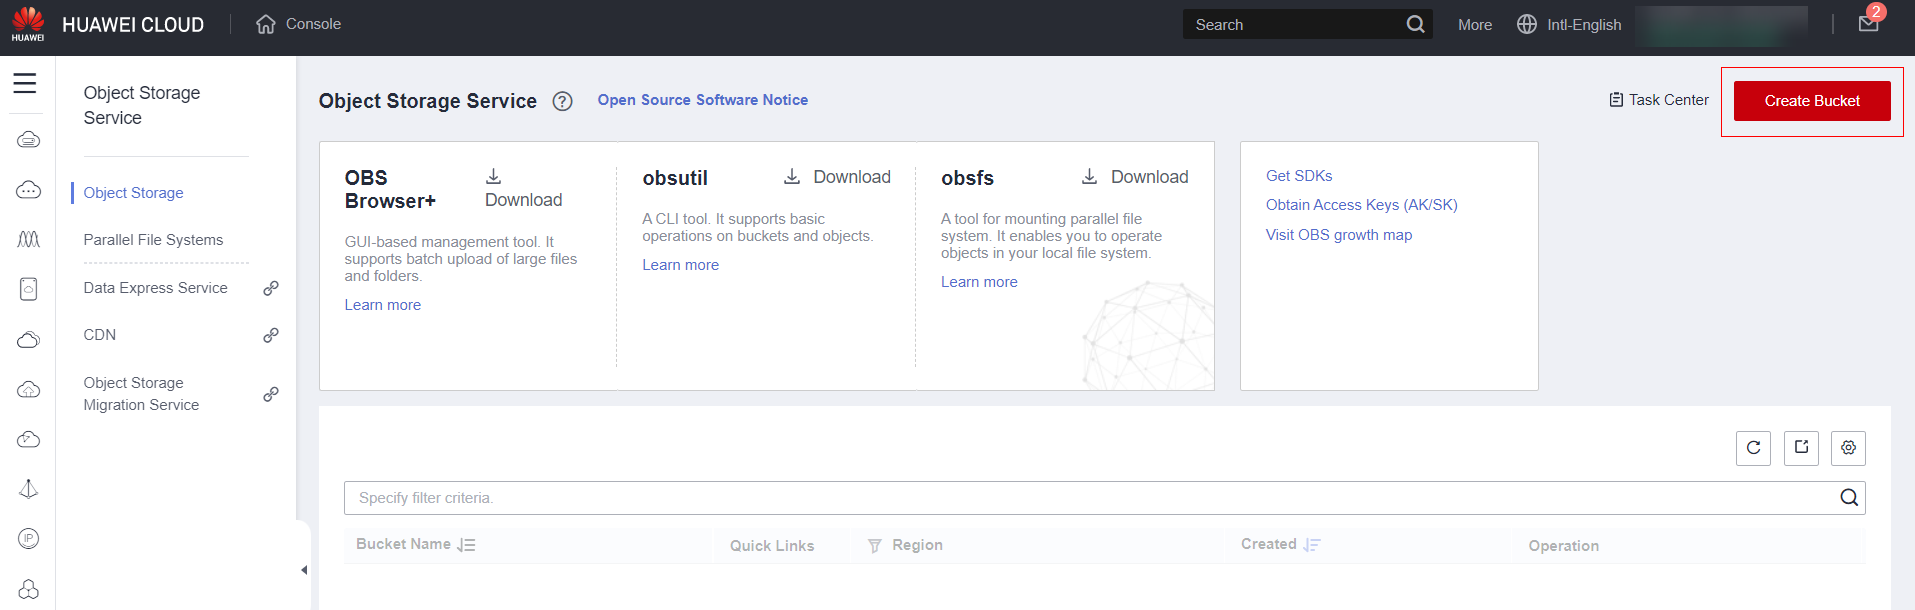
Access the OBS service in the Huawei Cloud console
Click the “Create Bucket” button
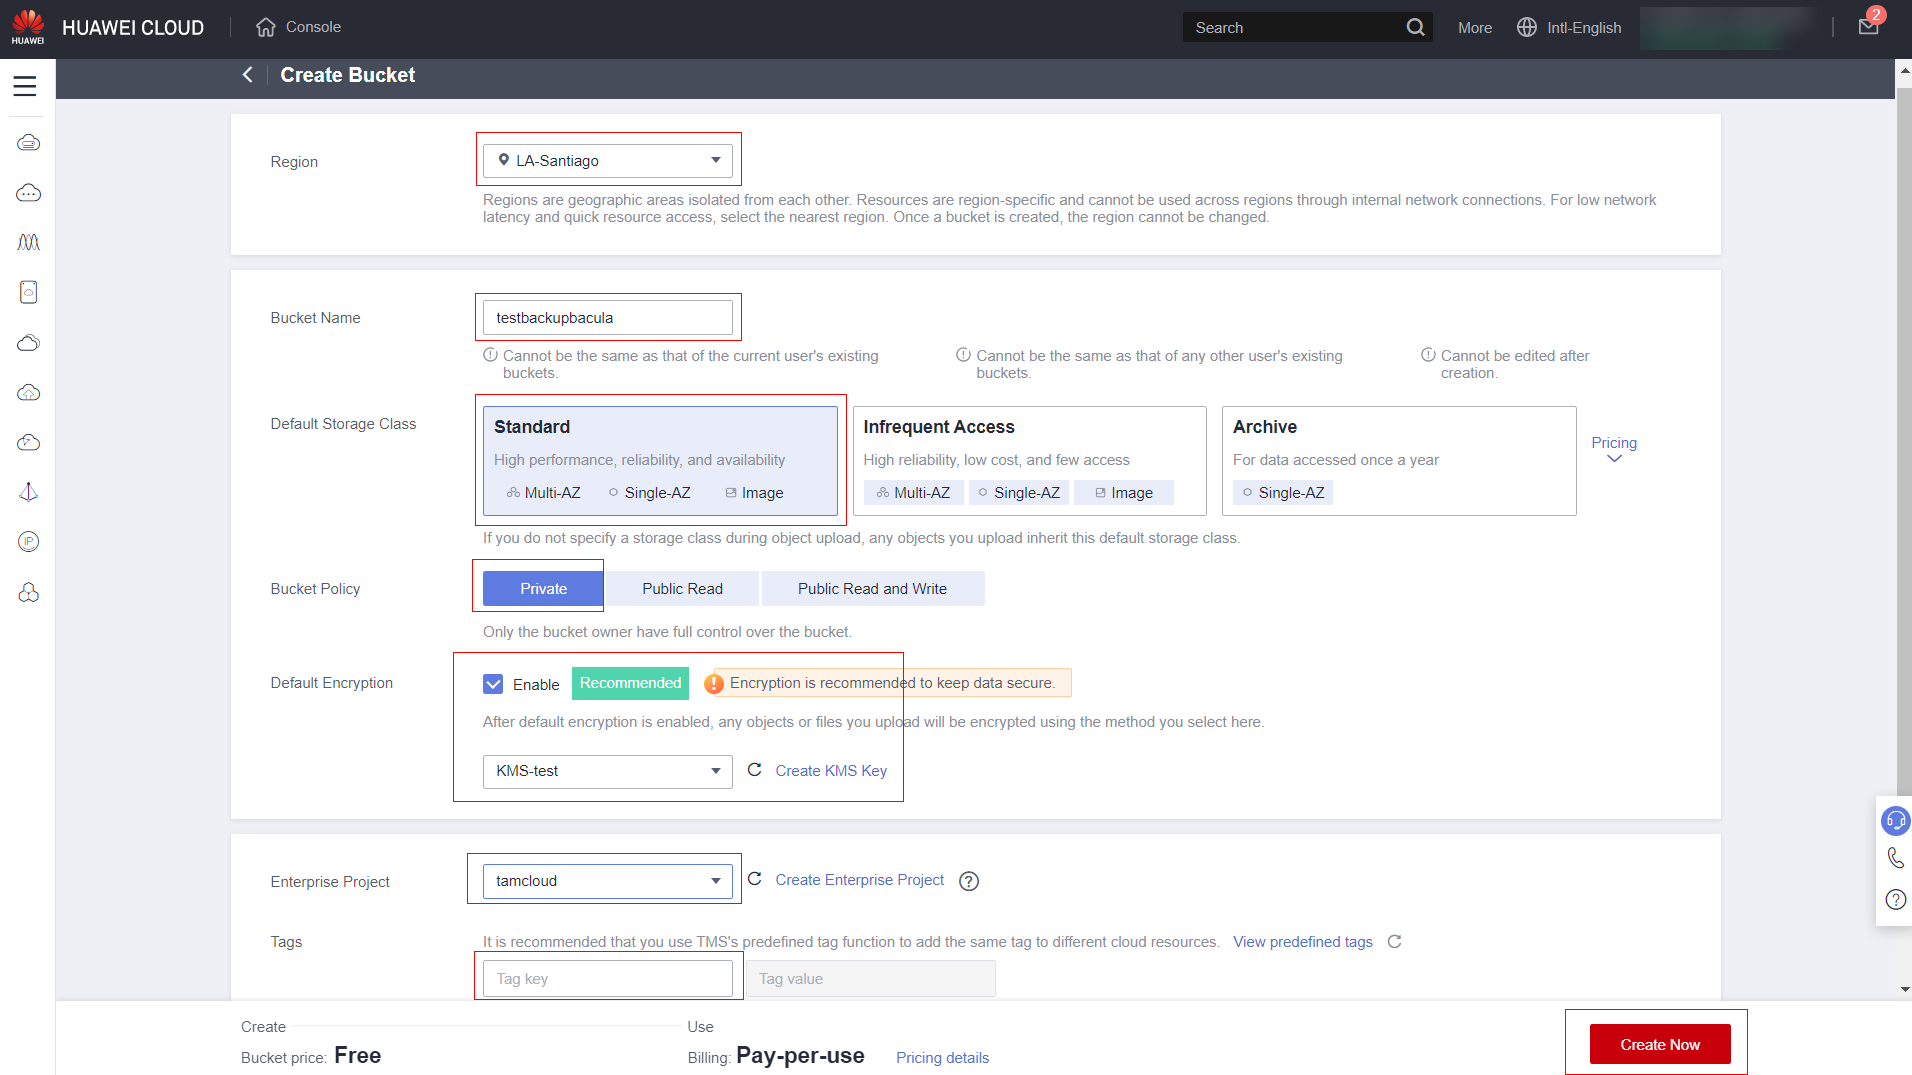
Select the bucket region, the bucket name (remember, it must be unique per region), select the bucket type (Standard should be used), select the bucket policy (Private is recommended), enable encryption, select the project, add a tag if desired, and then click the “Create Now” button.
Create a policy with permissions only for the OBS service using Huawei Cloud’s IAM service (If you have any questions, see the User, Group, and Policy Creation tutorial).
Create a programmatic user by applying the created policy.
Previously, download the AK/SK to use in the Bacula server configuration (if you have any questions, see the User, Group, and Policy Creation tutorial).
Open the bacula-sd.conf file (/opt/bacula/etc/bacula-sd.conf) and add the following lines (remember to adapt them to the names and settings you made):
Device {
  Name = "huawei-dev1"
  MediaType = "obs"
  DeviceType = "Cloud"
  ArchiveDevice = "/var/lib/bacula"
  AutomaticMount = yes
  LabelMedia = yes
  MaximumFileSize = 20000000
  Cloud = "huawei"
}

Cloud {
  Name = "huawei"
  Driver = "S3"
  HostName = "obs.la-south-2.myhuaweicloud.com"
  BucketName = "testbackupbacula"
  AccessKey = "-----------"
  SecretKey = "-----------"
  TruncateCache = "AfterUpload"
  Upload = "EachPart"
}
Open the bacula-dir.conf file (/opt/bacula/etc/bacula-dir.conf) and add the following lines (remember to adapt them to the names and settings you made):
# Scratch pool definition
Pool {
  Name = Scratch
  Pool Type = Backup
}

Pool {
  Name = "huaweipool"
  Description = ""
  PoolType = "Backup"
  LabelFormat = "obs-"
  LabelType = "Bacula"
  MaximumVolumes = 100
  MaximumVolumeBytes = 53687091200
  VolumeRetention = 31536000
  Storage = "huawei"
  AutoPrune = yes
  Recycle = yes
  Catalog = "MyCatalog"
}


#
# Restricted console used by tray-monitor to get the status of the director
#
Console {
  Name = bacula-mon
  Password = "---------"
  CommandACL = status, .status
}
Note: This password (Password = “——–”) can be found in the existing configuration in the bacula-sd.conf file.
Create the /var/lib/bacula folder and the /var/lib/bacula/obs-0002 folder if it doesn’t exist and grant access permission to the bacula user.
mkdir /var/lib/bacula
mkdir /var/lib/bacula/obs-0002
chmod 775 /var/lib/bacula
chmod 775 /var/lib/bacula/obs-002
chown bacula:bacula /var/lib/bacula
chown bacula:bacula /var/lib/bacula/obs-0002
Note: We use this folder that Bacula itself requests, but this folder is where the server will store the files before they are generated and before being sent to the cloud (afterwards they are removed). In these cases, it is recommended that you create a dedicated disk for this purpose (to prevent it from filling up and stopping the server) and that it has a volume that supports your backup routines and is easier to expand if necessary.
Review all settings to ensure they match the values added for the cloud configuration. You may need to revise existing items in the original file to match the new cloud parameters. After that, restart the Bacula service and reload it within the bconsole service.
Note: In some cases, it may be best to restart the server to apply the changes you made.
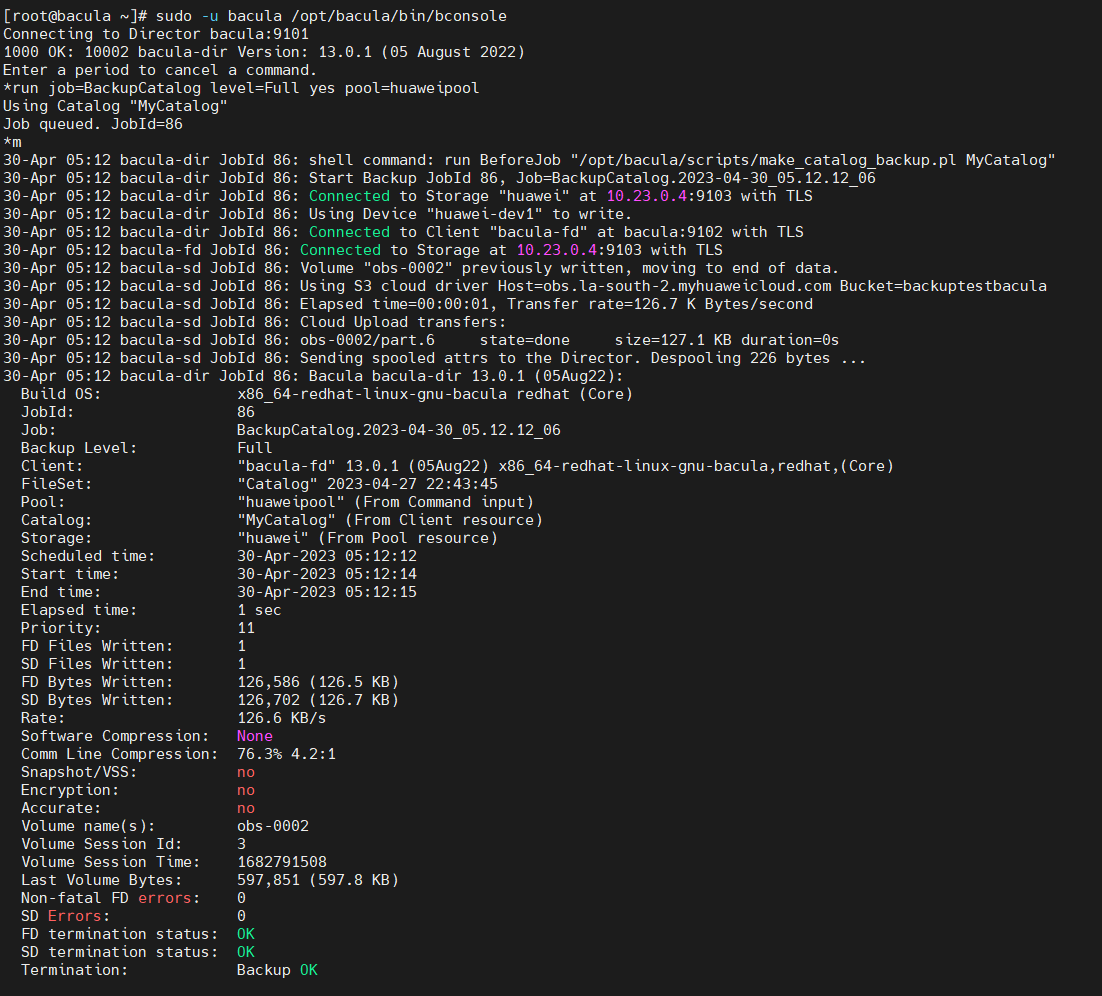
Test the backup routine with the command below. After the command, type m and press Enter to view the messages until “You have no messages” appears.
sudo -u bacula /opt/bacula/bin/bconsole
run job=BackupCatalog level=Full yes pool=huaweipool
m

exit
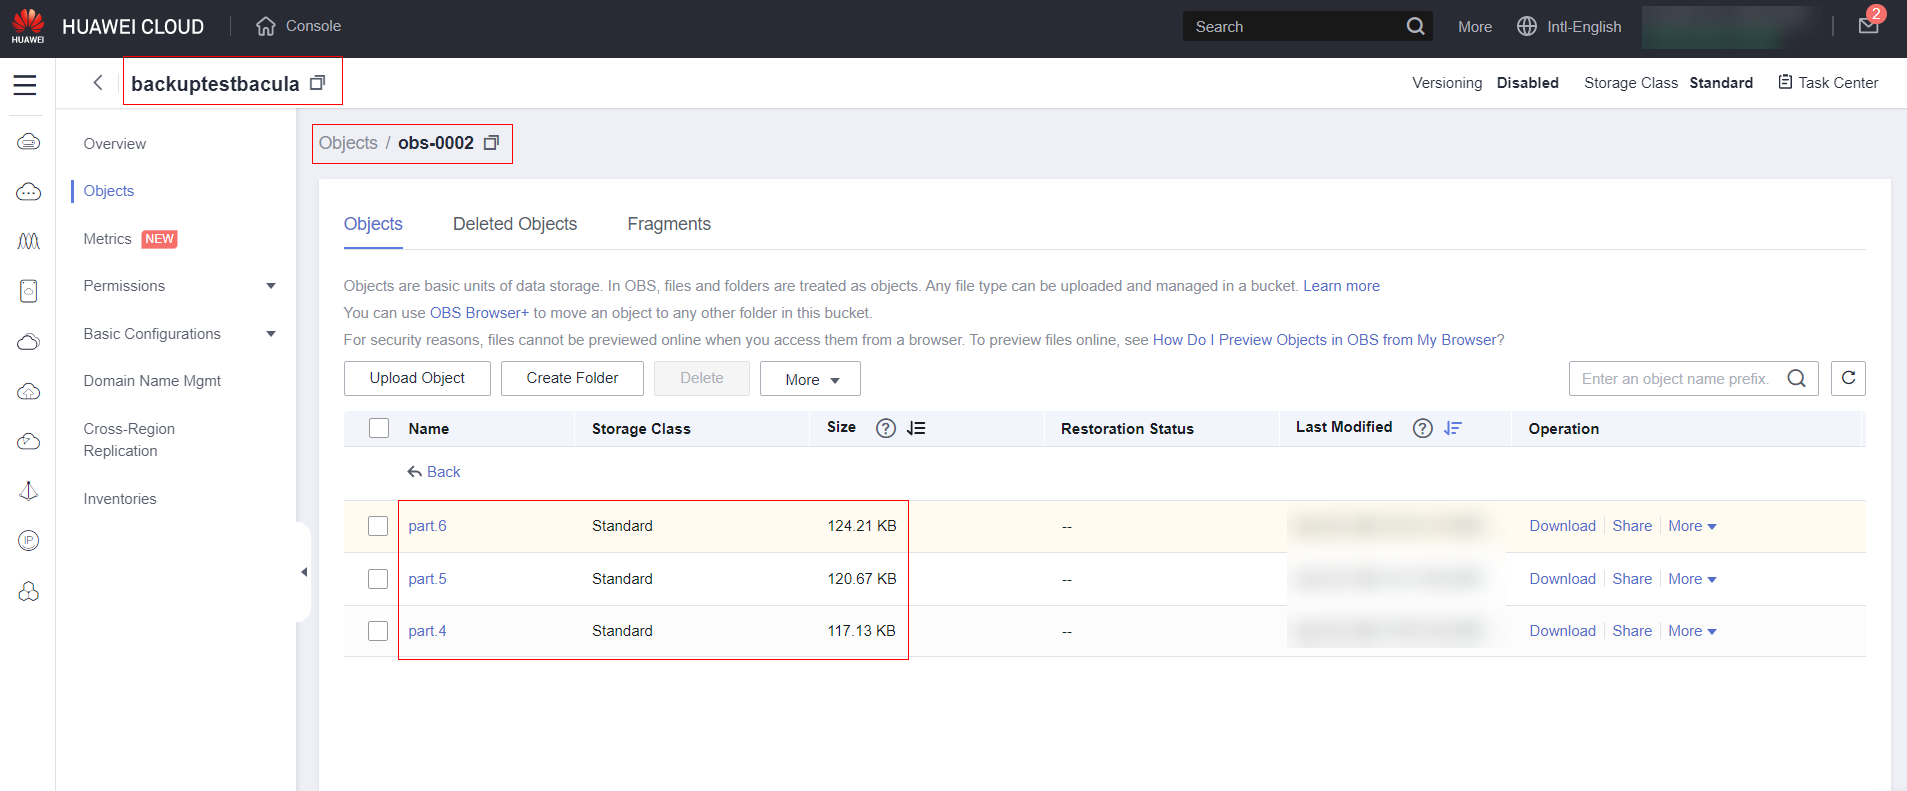
If the test is successful, the screen shown below will appear. When this occurs, you can go to your cloud bucket and see new files related to the backup routine you performed. If you receive an error message, review the sd and dir file configuration, restart the service, reload Bacula, and test again.